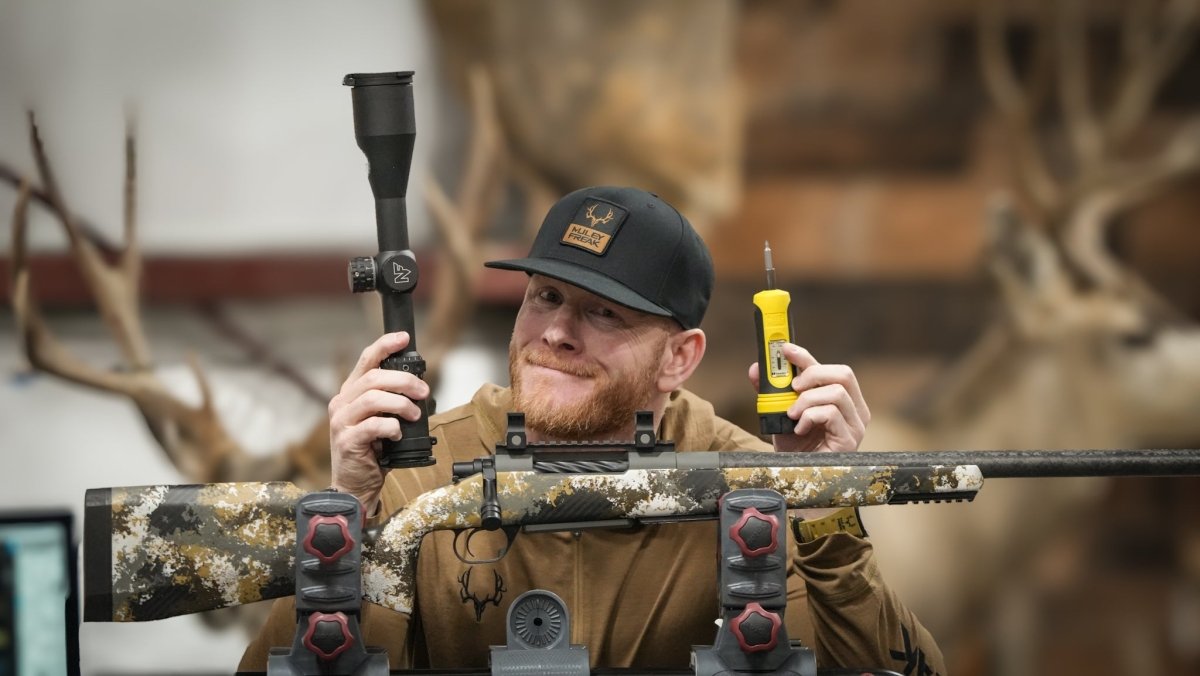
Do it yourself rifle scope mounting:
The best part of mounting your own scope to your precision gun is that if anything goes wrong when at the range, or on the mountain, you only have yourself to blame. When it comes down to it, it really isn’t all that difficult to mount your own optic to your weapon. All you need are a few tools, some basic scope-mounting knowledge, and a list of steps which you will see below.
Step 1: Safety inspection
First things first, gun safety. Open your action, confirm its clear of any and all ammunition, and make sure your safety is on throughout the duration of the rifle scope mounting process. Simple, but important.
Tools/items needed:
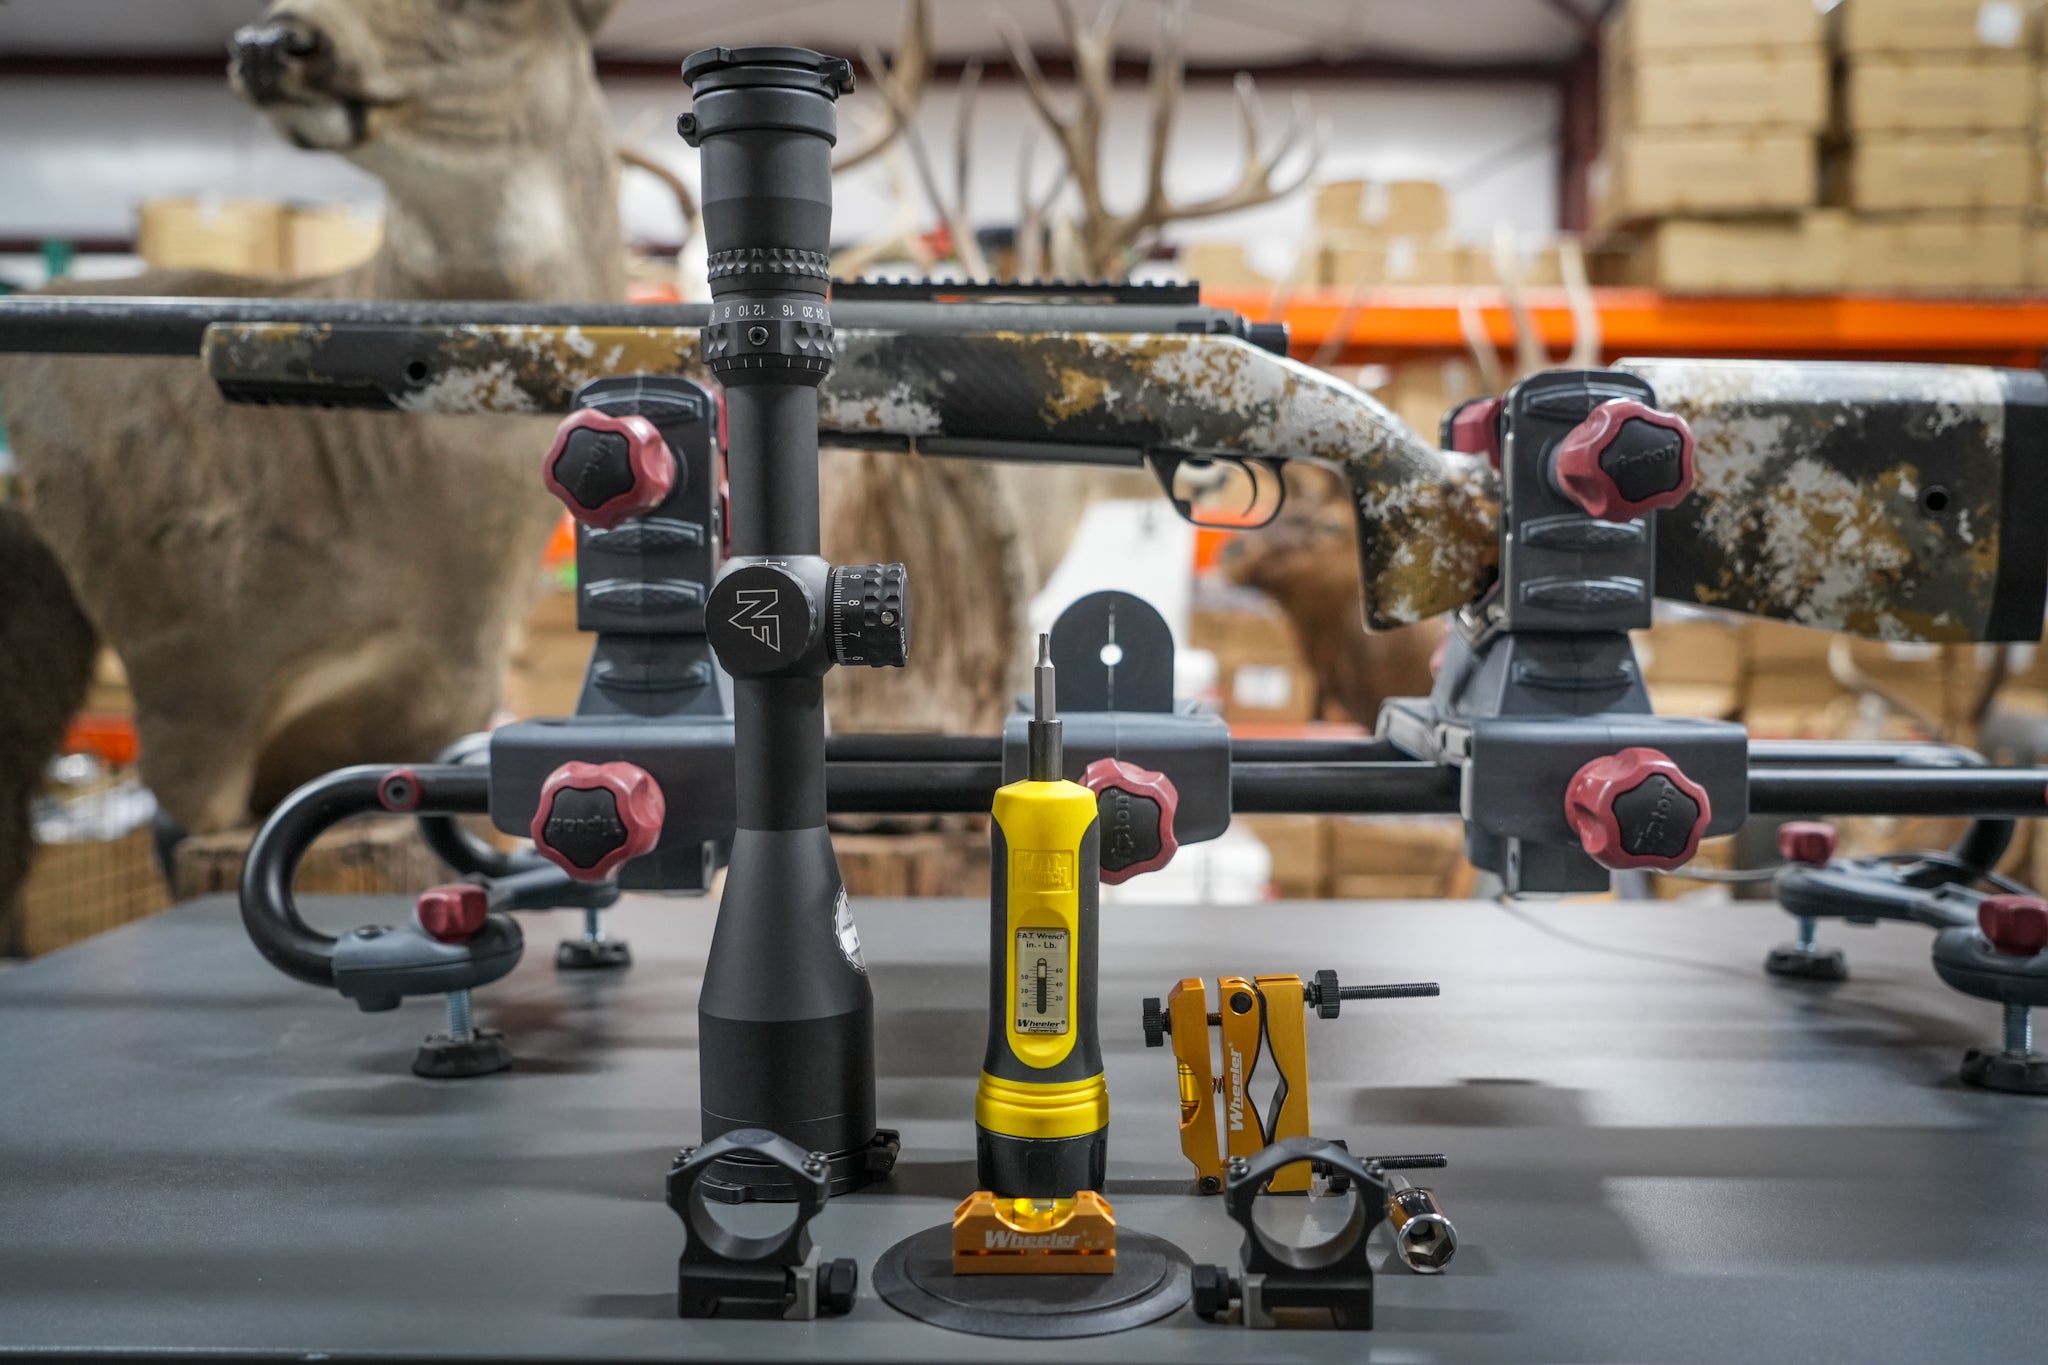
- Rifle scope (NightForce NX8 4-32x50mm F1)
- Rifle (7PRC built by TS Customs)
- Scope Rings (we use NightForce Rings)
- Barrel level
- Action level
- Wheeler fat wrench
- T-15 bit (or whatever bit yours requires)
- ½” socket (or whatever your cross bolts require)
- Tipton gun vise
Step 2: Level your action
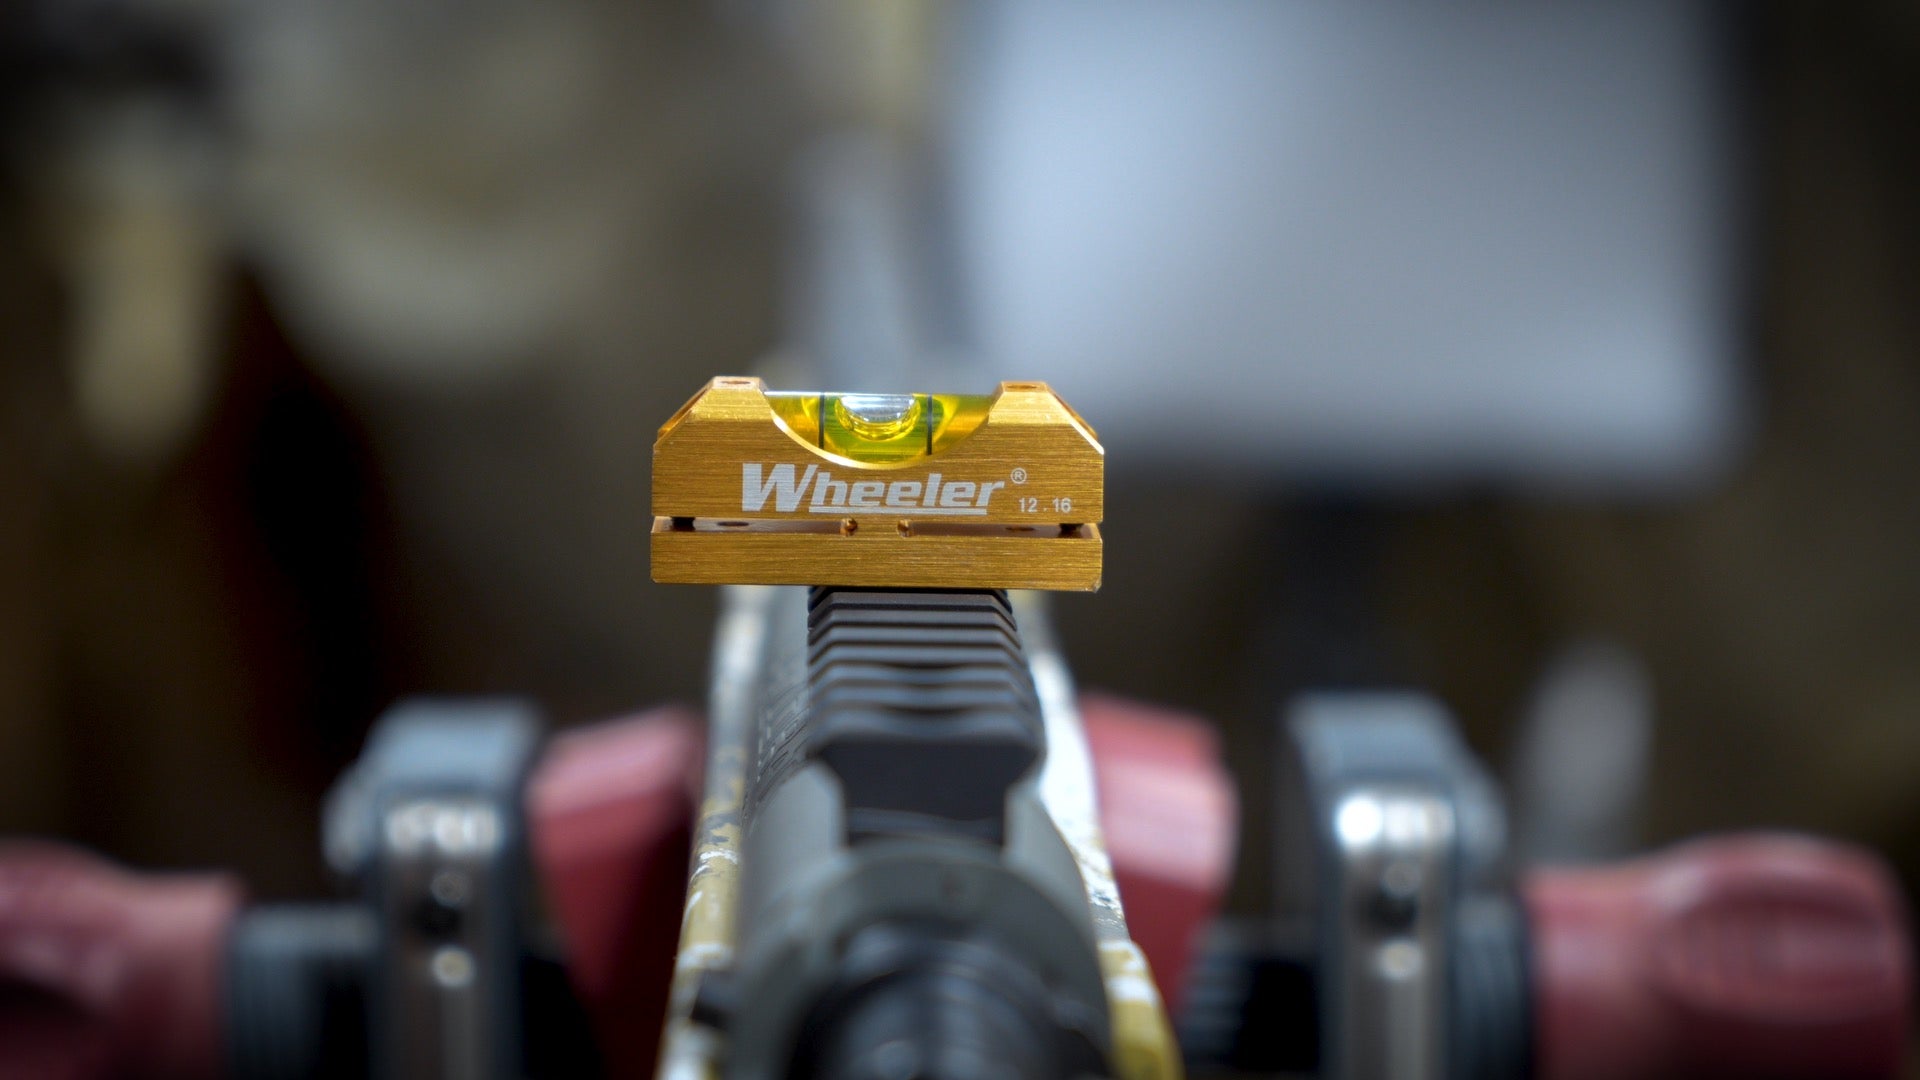
With your rifle sitting snug in the gun vise, place a level on your action running left to right. The Tipton Vise makes it really easy to get your rifle level, simply twist the knobs to slowly apply pressure and get the bubble where it needs to be, level. The level on your action will be coming on and off throughout the scope-mounting process, so to ensure your rifle stays level throughout the entire process, place the barrel level on the end of your barrel as a second reference and make sure they match up before removing the action level.
Step 3: Identify ring location
It’s now time to take the bottom portion of the rings or cross bolts and hand tighten them on the rail over the bridges or islands of the action. One ring will go over the bridge closest to the stock, and the other over the bridge closest to the barrel. Press your ring lugs forward snug against the rails, then hand tighten them for now in the event you need to make adjustments to obtain a clearer sight picture.
DO NOT LAP YOUR RINGS. Ring lapping is the process of sanding down the rings to have more surface contact between the rings and the scope and oftentimes a liquid compound is used in the process. Most high-end rings nowadays, like the NightForce Rings we use, have much better tolerances and are engineered so that lapping is not needed. Lapping an expensive set of rings can actually cause adverse effects.
Step 4: Set up your eye relief
Go ahead and take your Wheeler Fat Wrench and 1 ⁄ 2 '' socket, or whatever bit your cross bolt requires, and tighten the cross bolts on the bottom of rings to the manufacturer's recommended specs (individual scopes vary). Next, place your scope inside of the bottom of the scope rings and place the ring caps on top. For each ring cap, go ahead and lightly criss cross tighten each one so that there are even gaps between the rings. Make sure you keep the tightening light as you want to be able to slide the scope back and forth in case you need eye relief adjustment.
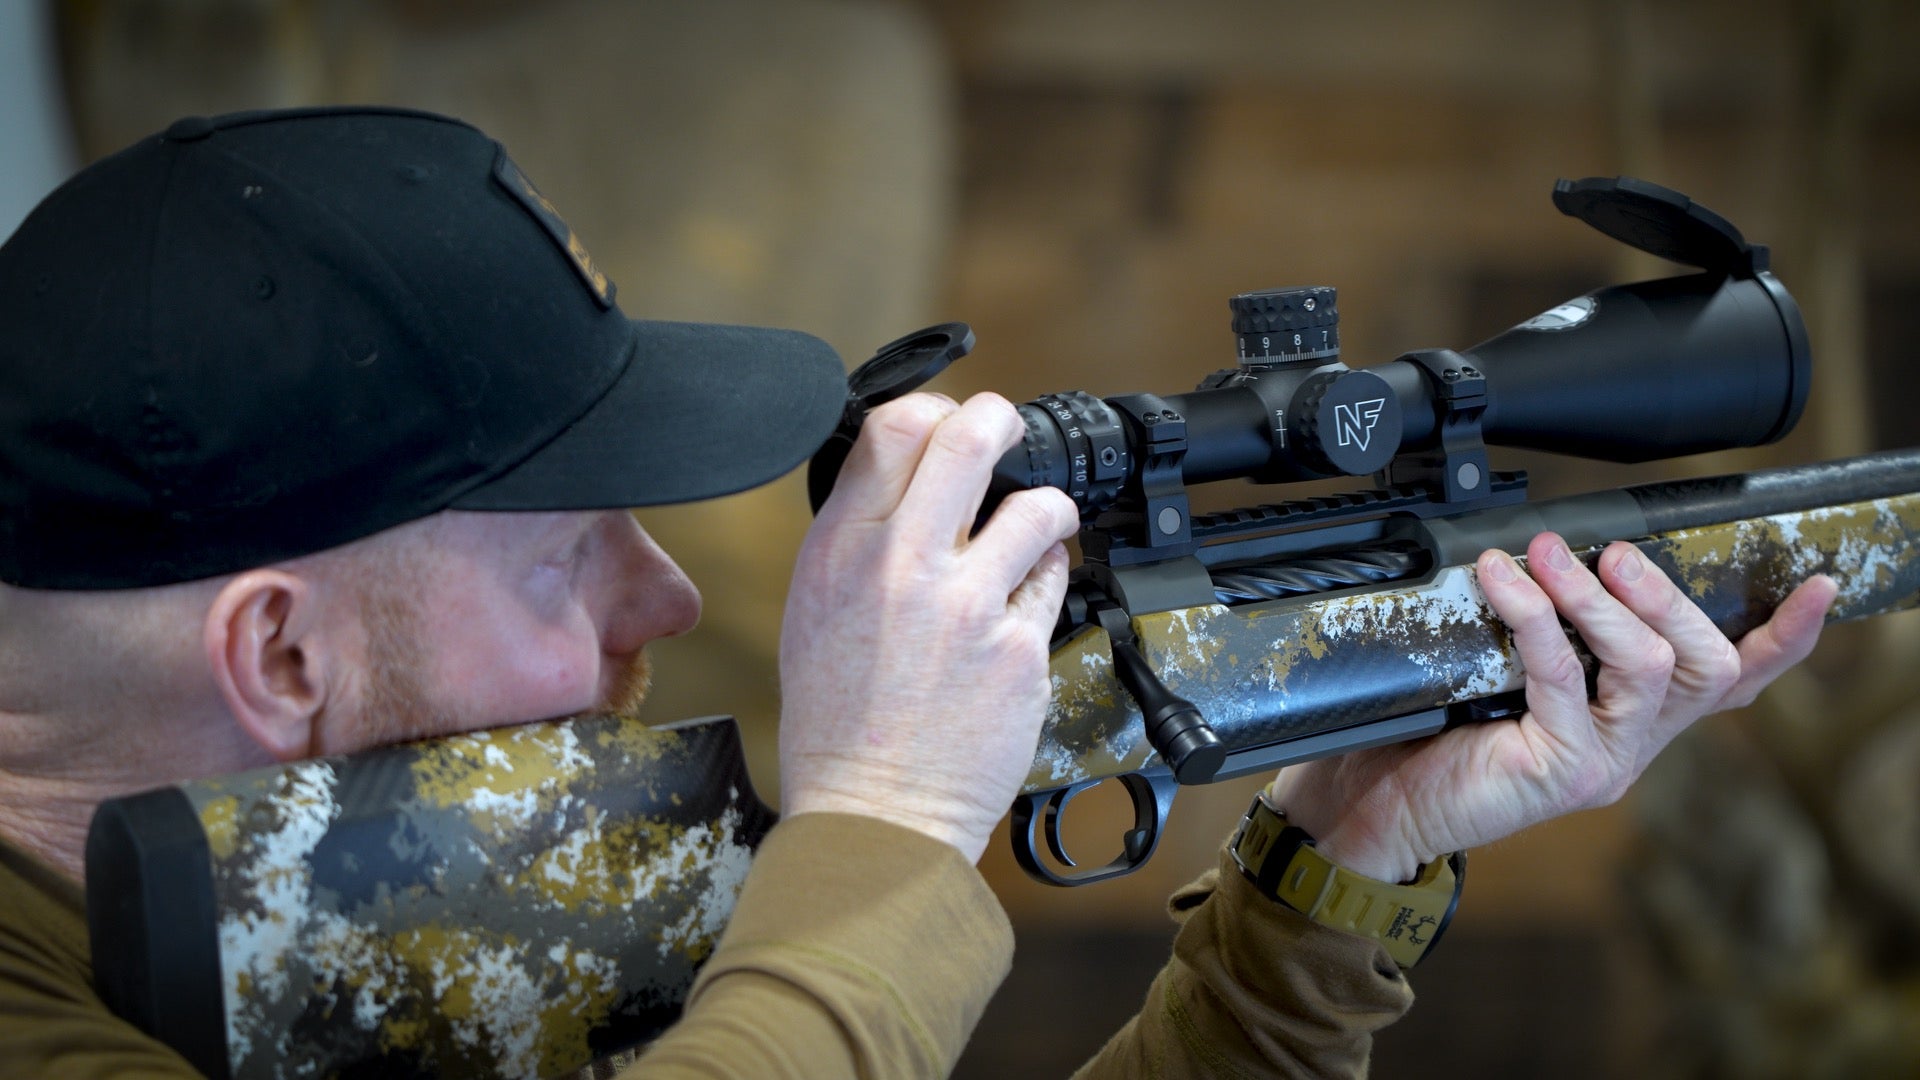
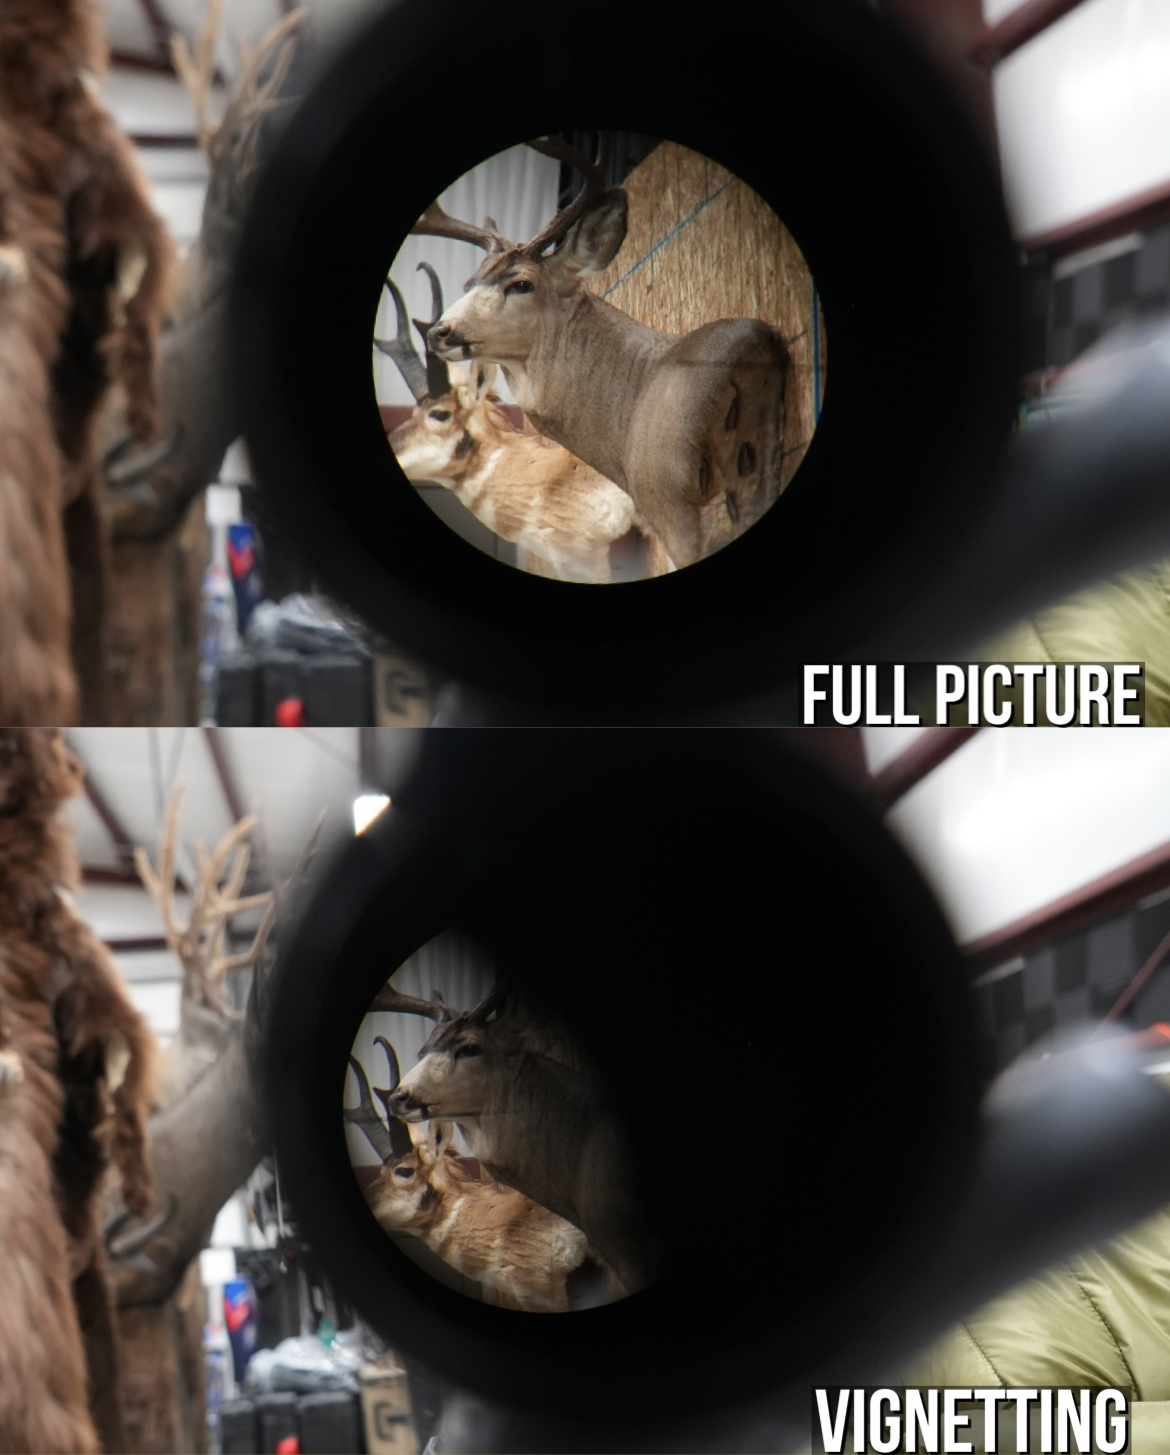
At this point in the process, make sure your magnification is at full power. You can now take the rifle out of the vise, shoulder it, look through the scope, and make whatever adjustment you need to the scope so you get a full sight picture. Find what you think would be a comfortable shooting position and make sure you don’t have a black ring or any haloing along the reticle. If you do, either slide the scope closer or further away from your eye until you get a clear sight picture.
Step 5: Tighten everything up

Once you get the scope just where you want it for that clear sight picture, put it back in the vise to where it is level and tight. Finish tightening the top ring caps at 25 inch-lbs (or whatever your ring manufacturer recommends) ensuring that your scope is still level. To get the best level possible, place the level on top of the scope after you remove the turret cap before you start tightening this down via the criss cross method. Keep an eye on your barrel level to make sure that your rifle’s action doesn’t come off level during the rest of the tightening process.
Step 6: Double check your work
Before calling it quits, double check that your scope is level, that you have a full sight picture, and that you have properly tightened down all of the screws and also that you have equidistant ring gaps on both sides of the scope on both rings.

There are quite a few steps in the scope-mounting process so it can be easy to accidentally miss something.
If you have any questions about scope mounting, the scope I run, or about my custom rifle build, please reach out to me at erik@muleyfreak.com.


